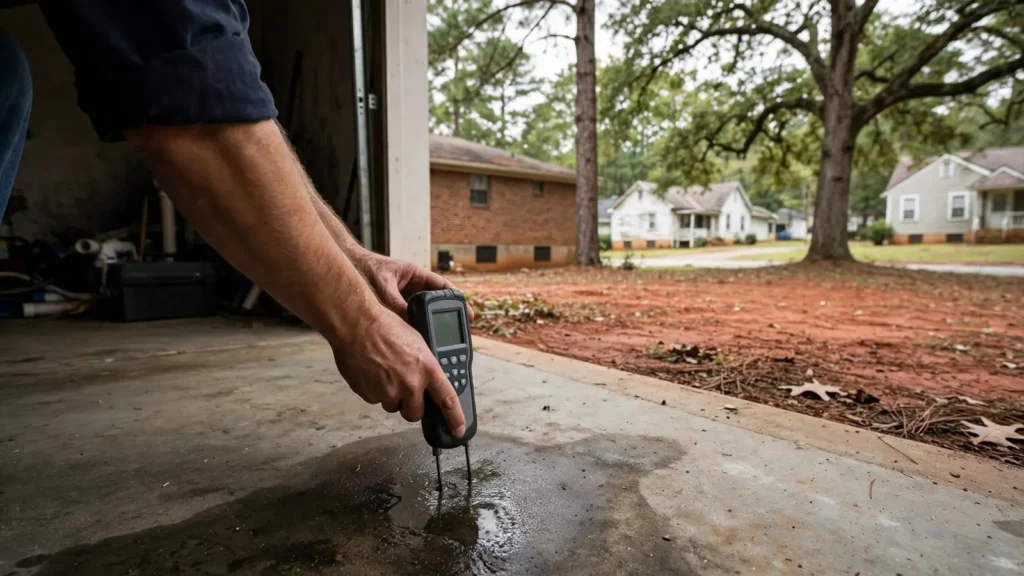
An ice maker water line leak is the slowest kind of disaster. The line is a quarter inch across and the leak might be a drip every few seconds, so nobody notices for weeks. By the time the floor in front of the fridge feels soft or a hardwood board starts to cup, the water has been soaking the subfloor, the cabinet bases or the concrete slab for a long time.
This guide covers how to find where the water is coming from (it isn't always the line), why plastic tubing and saddle valves cause most of the trouble, how to replace the line, and what to check when the floor is already damaged.
Do this first
- Shut off the water to the fridge. Look for a small valve in a recessed box in the wall behind the fridge, under the kitchen sink, or in the crawlspace or basement below the kitchen. If you can't find it or it won't close, use the main shut-off.
- Turn off the ice maker (most have a switch or a wire arm you lift to the up position) so it doesn't keep trying to fill.
- Pull the fridge out carefully. Slide it straight out on cardboard or a piece of hardboard so you don't scratch the floor or tear the line. Unplug it if you'll be working near the outlet with water around.
- Dry the area completely with towels, then watch it. A dry floor makes the source much easier to spot.
Finding an ice maker water line leak: line, valve or the fridge itself
Not every puddle in front of a fridge comes from the water line. Use this to narrow it down.
| Where the water shows | Likely source | Next step |
|---|---|---|
| Behind the fridge, near the wall | The supply line, its connection at the fridge, or the valve | Wipe each fitting dry with a paper towel, turn the water back on, and see which one gets wet |
| Under the fridge, toward the back | The fridge's water inlet valve or the connection to it | Check the inlet valve behind the lower rear panel; appliance repair if it's cracked |
| Inside the fresh-food section, near the filter | Filter not seated, a torn O-ring, or a cracked filter housing | Reseat or replace the filter; a cracked housing means replacing the filter head |
| Inside the fridge under the crisper drawers, or ice on the freezer floor | Clogged defrost drain, not the water line | Clear the defrost drain per the manual |
| In front, under the door dispenser | Dispenser line or a cracked drip tray | Check the dispenser and tray |
| On the ceiling of the basement or in the crawlspace below | The line where it runs through the floor, or the tap on the pipe below | Look under the kitchen with a flashlight |
| Nowhere visible, but the water meter moves | Somewhere hidden in the line's run | Close the fridge valve and recheck the meter |
That last row is worth trying even if you think you found it. With every faucet and appliance off, check the leak indicator on your water meter. Then close the valve feeding the fridge and check again. If the indicator stops, the leak is somewhere on the fridge line. Our leak detection guide walks through the meter test in detail.
Plastic vs braided vs copper supply lines
The clear or white plastic tubing sold in cheap ice maker kits is behind a large share of these leaks. Refrigerator makers have warned about it for years. GE's installation instructions say plastic tubing should not be used except for its own approved kit, because the line is under pressure all the time and some plastics crack or rupture with age. Whirlpool's instructions call for 1/4-inch outside diameter soft copper or PEX tubing.
| Line type | Pros | Cons |
|---|---|---|
| Thin plastic (polyethylene) tubing | Cheap, easy to route | Turns brittle, cracks at kinks and fittings, easy to pinch when the fridge is pushed back |
| Soft copper | Durable, approved by most makers | Kinks if bent too tight or crushed behind the fridge; a kink can crack it later |
| PEX | Flexible, approved by Whirlpool | Needs proper fittings; not every hardware store kit includes them |
| Stainless braided connector | Flexible, hard to pinch, sold in lengths with fittings already attached | Has an inner tube that ages; replace on the same schedule as washer hoses |
For most kitchens, we'd pick a braided stainless refrigerator connector long enough to leave a loop behind the fridge. Whirlpool recommends leaving a coil of tubing (a service loop) so the fridge can be pulled out for cleaning without straining the connection.
Saddle valves: why plumbers hate them
A saddle valve clamps onto the outside of a water pipe. Tightening its handle drives a small needle through the pipe wall, and water flows through that hole to the ice maker line. It's a five-minute install with no soldering, which is why so many fridges were hooked up this way, often on a copper line in the crawlspace or under the sink.
The problems:
- The rubber gasket under the clamp is the only thing sealing a hole in your pipe. It hardens with age and starts to seep.
- The needle often won't close fully after years in the open position, so you can't actually shut the line off when you need to.
- Small piercing-type valves restrict flow and clog. Whirlpool says not to use a piercing-type or 3/16-inch saddle valve because they reduce water flow and clog more easily, and to use a 1/4-inch valve that needs a drilled hole.
- On old galvanized pipe, the clamp often can't seal at all. Our guide to plumbing in older Greenville homes explains why galvanized lines are a poor place to tap anything.
Codes have caught up too. The model International Plumbing Code lists saddle-type fittings among prohibited water supply connections, and refrigerator makers note that saddle valves aren't allowed at all in Massachusetts. Some states amend the rule for ice makers, and enforcement for existing installs varies, so check with your local inspector if you're planning other work.
The better setup is a tee fitting cut into the pipe with a real quarter-turn shutoff valve, or a recessed ice maker box in the wall behind the fridge with its own valve. That's a plumber job on most homes, and it's usually a small one; published local prices for small repairs are on our plumber cost guide. If you're having a faucet replaced, ask to have the saddle valve swapped at the same visit; see our guide on replacing a kitchen faucet.
Saddle valve dripping under the sink? Call a local plumber
How to replace an ice maker supply line
- Shut off the valve feeding the line and turn off the ice maker.
- Disconnect the old line at the fridge (a 1/4-inch compression nut at the lower back on most models) and at the valve. Have a towel ready.
- Measure the run from the valve to the fridge inlet, then add enough for a loop so the fridge can slide out. Braided connectors come in set lengths, so round up.
- Connect the new line hand-tight, then snug it with a wrench. Don't crank on compression fittings; overtightening distorts them and causes the drip you're trying to fix.
- Turn the water on slowly and hold a dry paper towel under each connection for a few minutes.
- Run water through the dispenser to clear air and any loose carbon from the filter. Many manuals say to throw away the first few batches of ice.
- Push the fridge back gently, watching that the line loops and doesn't kink against the wall.
If the valve itself is the saddle type, corroded, or won't fully close, stop at step one and have it replaced first. Hooking a new line to a bad valve just moves the leak.
Filter housing leaks
If the water is inside the fridge near the filter, or it started right after a filter change, look at the filter before the line. The usual causes are a filter that isn't fully turned and locked, a missing or torn O-ring on the filter, or a cheap off-brand filter that doesn't seal quite right. If the plastic housing that holds the filter has a hairline crack, the whole filter head usually has to be replaced, and that part is specific to your model. That's an appliance repair rather than a plumbing one.
High water pressure makes filter housings, inlet valves and line fittings fail sooner. Plumbing codes generally call for a pressure-reducing valve when pressure tops 80 psi. If several fixtures are acting up at once, have a plumber test the house pressure.
Hardwood, slab and crawlspace damage
Where your kitchen sits changes what a slow leak does.
Hardwood and click floors
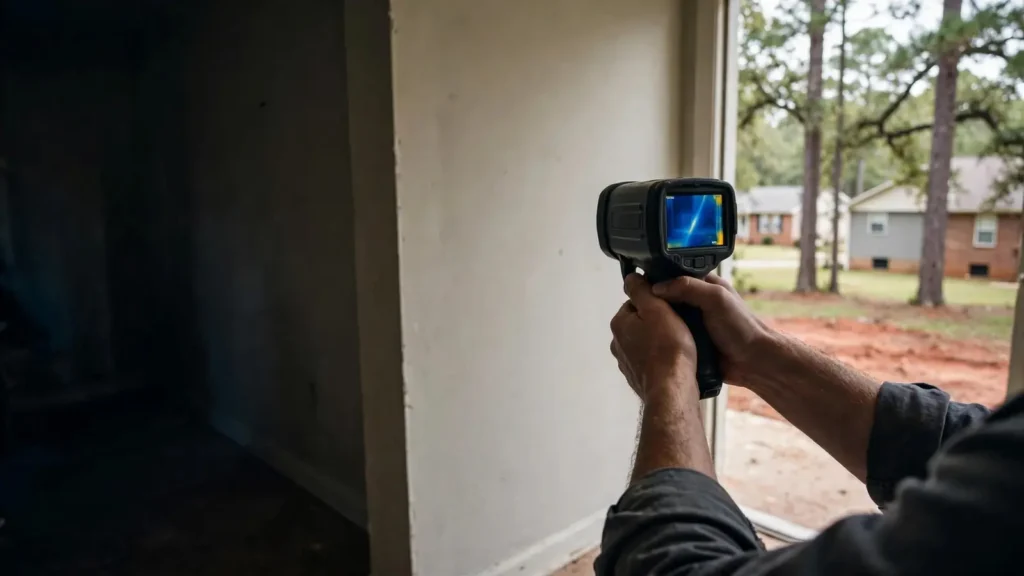
Solid hardwood soaks up water and cups, the edges of each board rising higher than the center. Engineered wood can delaminate. Click-together vinyl plank and laminate can look perfect on top while water sits trapped underneath on the subfloor. Any soft spot, dark stain at the seams, or boards that have lifted near the fridge means water has been there a while. Pull the fridge, dry the floor with fans, and use a moisture meter if you can borrow one.
Slab foundations
Many newer Greenville County homes, especially 2000s and 2010s subdivisions around Greer, Simpsonville and Fountain Inn, are built on concrete slabs. Water from an ice maker line can spread under flooring and the cabinet bases with nowhere to drain. A damp patch that stays damp after the line is fixed can mean the water has spread farther than you think. It can also mean the problem is a leak in the water line under the slab, which is a different and bigger repair. Our leak detection guide covers how plumbers tell the two apart.
Crawlspace homes
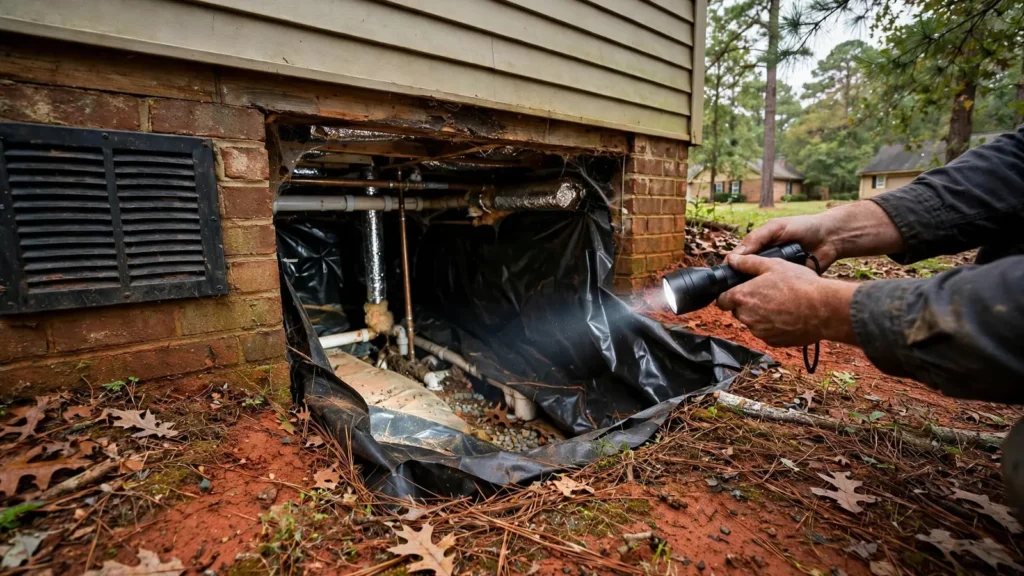
In older ranches in places like Taylors, Wade Hampton and Mauldin, the ice maker line usually drops through a hole in the kitchen floor and taps a supply pipe in the crawlspace. Water from a leak there runs down to the vapor barrier or soaks the subfloor and joists from below. Take a flashlight under the house and look at the floor underneath the fridge. Wet insulation, a dark stain on the subfloor, or a soggy vapor barrier tells you the story.
Insurance and the slow-leak problem
Homeowner's policies often cover sudden water damage but not damage from a leak that went on for a long time, and an ice maker drip is the classic gradual leak. Policies differ, so read yours or ask your agent. Either way, photograph the damage, keep the failed line or valve, and get the plumber's invoice in writing. If the line burst and water is spreading, treat it like any other burst; our burst pipe guide has the first steps, and our emergency plumber page covers when it can't wait.
Ice maker lines belong on the same replacement list as washer hoses. Our guide to washing machine hose replacement covers the schedule and the leak sensors that work for both. A $20 leak alarm on the floor behind the fridge is the cheapest insurance there is.
Found water behind the fridge? Call a local plumber
Ice maker line questions
Can I use the plastic tubing that came with my ice maker kit?
We wouldn't. GE's instructions say not to use plastic tubing except its own approved kit, because some plastics crack with age under constant pressure. A braided stainless connector or soft copper line is a small upgrade.
Is it safe to keep using a saddle valve that isn't leaking?
It works until it doesn't, and you may not be able to close it when you need to. If it's in a crawlspace or under a sink where nobody looks, replacing it with a tee and quarter-turn valve is cheap protection.
How long should a refrigerator water line last?
There's no single rule. Plastic tubing can crack in a few years, while copper and braided lines last longer. Inspect it whenever the fridge is pulled out, and treat braided connectors like washer hoses: replace them on a schedule.
Why is my fridge leaking after I changed the filter?
Usually the filter isn't fully seated or locked, or the O-ring is missing or torn. Remove it, check the seal, and reinstall it firmly. If it still leaks, the filter housing may be cracked.
Can I shut off just the ice maker water and keep using the fridge?
Yes. Close the valve feeding the line and turn the ice maker off. The fridge keeps cooling normally; you'll just have no ice or dispenser water until the line is fixed.
Sources
- Whirlpool Product Help, How to Check the Water Supply Line (1/4-inch O.D. soft copper or PEX; no piercing-type or 3/16-inch saddle valve; service loop), checked Oct 2026.
- GE Appliances, refrigerator installation instructions, water line section (plastic tubing not recommended except approved kit; saddle valves not permitted in Massachusetts).
- International Code Council, International Plumbing Code, Section 605.9 prohibited joints and connections (saddle-type fittings), with Georgia DCA amendment as an example of state changes.
- Appliance parts manufacturer and retailer repair guidance on cracked water filter housings, checked Oct 2026.